
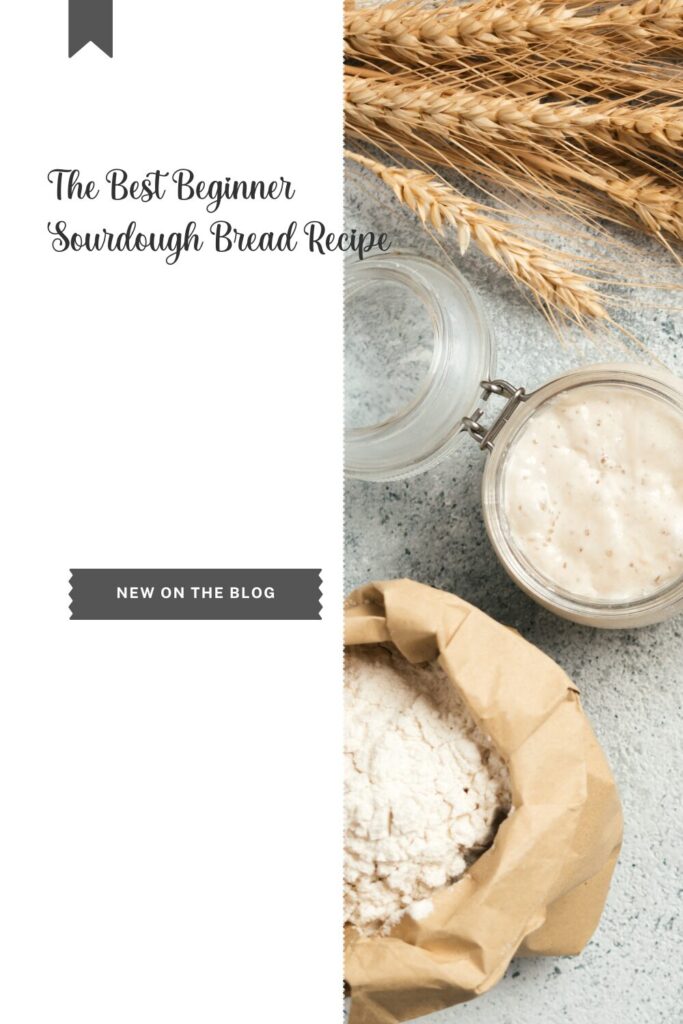
Homemade Gluten-Free Sourdough Bread Recipe with Simple Techniques
Learn how to make a simple homemade sourdough bread recipe in your kitchen. This homestead version of sourdough bread is a non-fussy technique that does not need complicated measurements or instructions. This recipe is perfect for people (like me). These people like a simple, hearty loaf. It doesn’t require much effort and time.
What is sourdough?
Sourdough is a type of bread made from a natural fermentation process. It uses flour and water left to ferment over several days, creating a unique flavor, texture, and aroma that set sourdough apart from other breads.
Can I make gluten-free sourdough bread?
Absolutely! You can use gluten-free bread flour instead of the traditional one. You can use brown rice flour and a gluten-free starter to make gluten-free sourdough.
How can I make simple sourdough bread tastier?
Although sourdough has a unique, slightly sour flavor that makes it tasteful, there is always room to improve it. If you are wondering how to add more flavors to this simple sourdough bread recipe, here are a few things to try:
- Seeds: Adding sesame or sunflower seeds to your sourdough bread can give it a crunchy texture and add flavor.
- Herbs: Herbs are not just flavorful but are also aromatic. Adding fresh or dried herbs to bread takes the flavors up a notch. The smell of freshly baked bread and herbs is heavenly.
- Cheese: Add shredded cheddar or grated Parmesan cheese to your bread, giving it a cheesy flavor and texture.
How can I store it?
Storing bread is easy, though you must remember a few things.
- Storing the bread is effortless; you don’t have to refrigerate it. Once it cools, place it in a kitchen towel or bread bag in a cool, dry place. It will last for up to three days.
- I recommend not refrigerating sourdough bread. Refrigerating it will only make it dry.
- Moreover, you can also freeze bread. Once it cools down, wrap the loaf in cling film and freeze it. It will stay suitable for up to three months. Thaw it until it reaches room temperature, and enjoy.
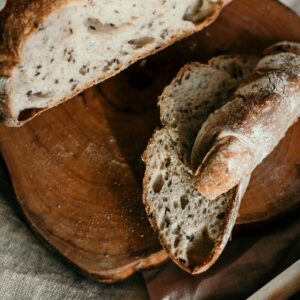
Sourdough Bread
Equipment
- Large glass mixing bowl
- Kitchen towel
- Dough scraper
- Colander or bowl for proofing
- Parchment paper
- Baking sheet
- Razor blade or sharp knife
- Dutch oven or heavy-duty oven-safe pot with lid
- Cooling rack
- Spatula
- Instant-read thermometer (optional)
Ingredients
- 4 cups bread flour plus more for dusting
- 1⅓ cups warm filtered water 90°F
- ½ cup active sourdough starter
- 2 tsp salt
Instructions
- In a large glass bowl, combine warm water and starter, stirring until fully dissolved. Add salt and flour and mix with your hands until a shaggy dough forms. Cover with a kitchen towel and let rest for 1 hour.
- After resting, perform four gentle stretch-and-folds using wet hands. Rest for 20 minutes, and optionally repeat this process 2–3 more times over the next hour.
- After the final stretch, shape the dough into a ball, cover it, and let it rise for 8–12 hours until it is springy and it bounces back when gently pressed.
- Turn dough onto a floured surface, flour the top, flip, then pinch edges to the center like a sack. Flip again so the seams are down and shape into a tight ball.
- Line a bowl or colander with a floured towel. Place dough seam-side into the bowl, cover, and rest at room temperature for 30 minutes. Then refrigerate for at least 1 hour.
- Place a Dutch oven and lid inside your oven and preheat to 500°F for 1 hour.
- Remove the dough from the fridge. Flip onto a parchment-lined baking sheet, flour top, and score with a razor or knife. Transfer dough to the hot pot using parchment as handles. Cover and bake at 500°F for 20 minutes.
- Reduce oven temperature to 405°F and bake for 20 minutes or until the internal temperature is 195–205°F.
- Use parchment and a spatula to lift the bread from the pot. Cool on a rack for at least 1 hour before slicing and serving.
Notes
- Use filtered water to avoid chlorine, which can harm your starter.
- Be patient—the long fermentation time builds flavor and texture.
- Scoring the loaf allows steam to escape and creates beautiful patterns.
- For a crisper crust, let the loaf cool completely before slicing.