Drive Your Honey Nuts with Delicious Donuts – The Sweet Treat to Win over Hearts
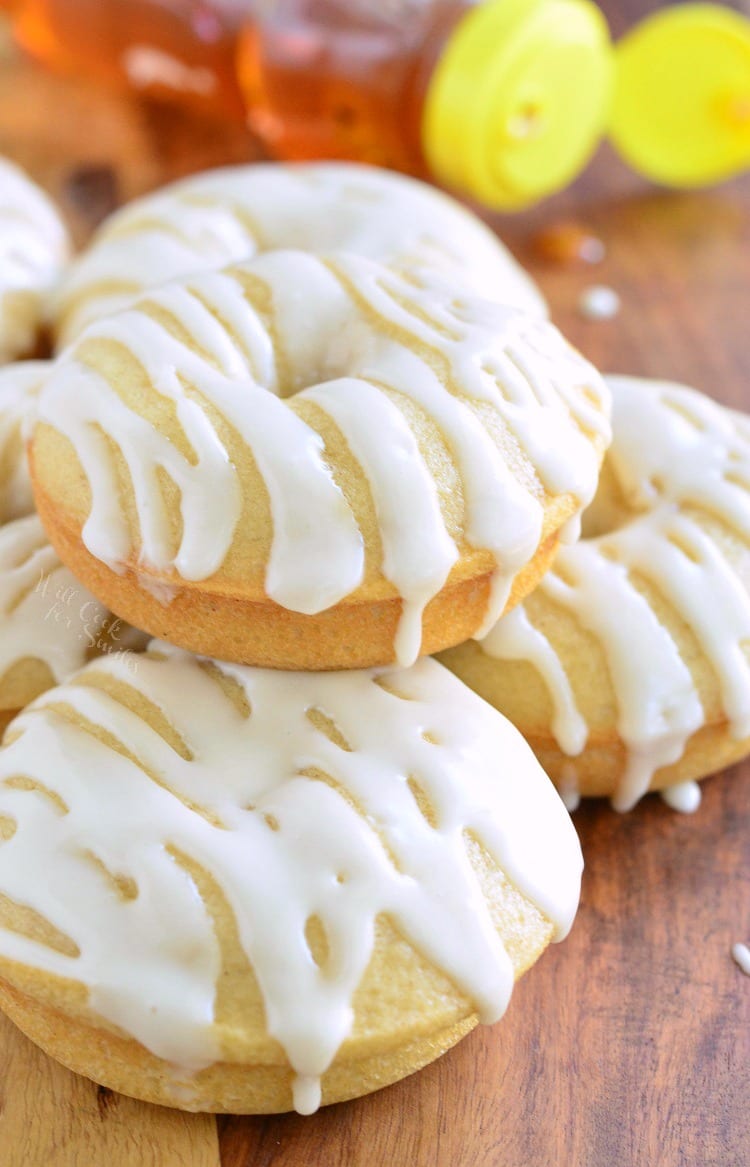
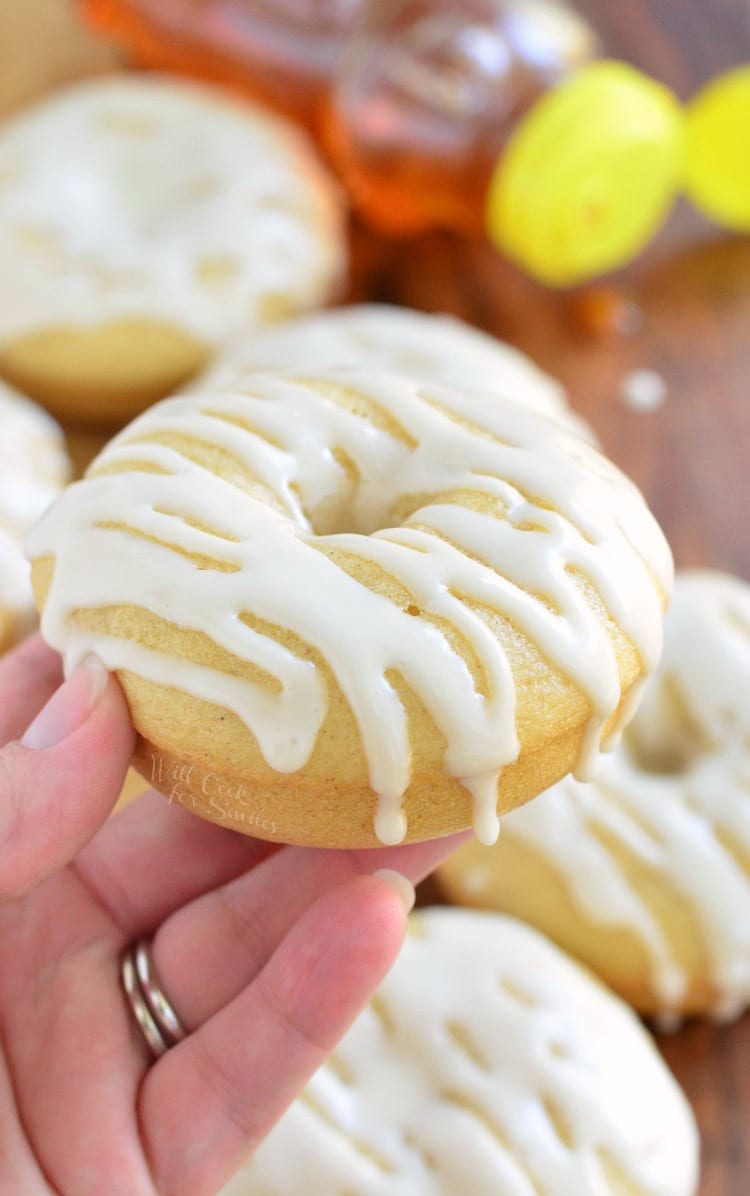
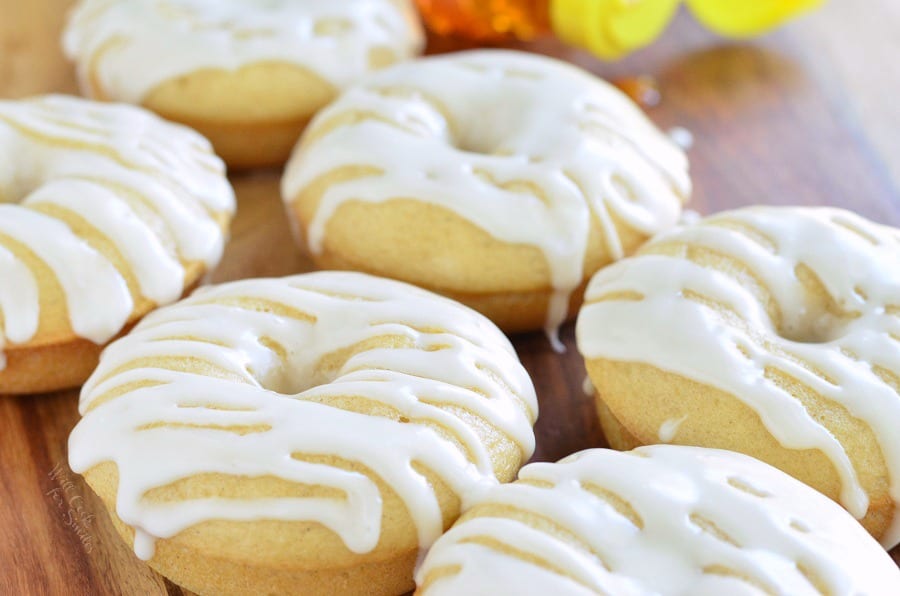
These delicate little doughnuts are packed with sunshine and honey flavor throughout. Their smooth honey flavor will brighten your mood and please your taste buds. These donuts are baked and glazed with a creamy honey glaze.
Don’t forget to sign up for email so you won’t miss any new recipes.

These donuts are too adorable not to make!
One of the most commonly used nicknames for our significant other is “honey.” So, I thought a sweet honey treat would be perfect for Valentine’s Day. I like to create Valentine’s Day recipes that are simple to make. Many people cook and bake on this holiday, even though they don’t usually bake. Like Mother’s Day, kids want to do something sweet for their mom. Husbands often prepare her breakfast in bed. It’s the same for Valentine’s Day; we want to do something sweet and unique for our significant others.
When I devise recipe ideas for this holiday, I try to think of my husband. If he would be making me something special, what would be a good recipe for him to make? He has pretty good kitchen skills. Still, I know he will struggle halfway through my Double Chocolate Ganache and Raspberry Cheesecake. So, to guarantee a successful breakfast surprise, a simple recipe is the way to go.

These Honey Doughnuts are just that. They are a simple recipe for a beautiful breakfast. These donuts can be ready in about 30 minutes.
So next time you want to do something special for your “honey,” make them some Glazed Honey Donuts! Whether it’s Valentine’s Day, Mother’s Day, Father’s Day, a birthday, or an anniversary, this treat is perfect for any occasion.

Drive Your Honey Nuts with Delicious Donuts
Equipment
- Stand mixer with dough hook (if you’re not into kneading by hand)
- Large mixing bowl (to let that dough rise like your love)
- Baking sheet lined with parchment paper (for those precious donut holes)
- Candy thermometer (you can eyeball it, but why risk it?)
- Rolling pin (because flat dough isn’t it)
- 3-inch round cutter (or a glass if you’re feeling rustic)
- Heavy-bottomed pot or Dutch oven (for frying)
- Slotted spoon (to fish out those golden beauties)
- Wire rack (for draining and glazing)
Ingredients
For the Donuts
- 3 ½ cups all-purpose flour the base of all things good
- 2 ¼ tsp active dry yeast because we need that rise
- 1 cup whole milk lukewarm, not scorching hot
- ¼ cup granulated sugar just enough sweetness
- 2 large eggs room temperature, so they blend right in
- ¼ cup unsalted butter melted and cooled
- 1 tsp kosher salt to balance out that sweetness
- 1 tsp vanilla extract the flavor base that keeps on giving
- Vegetable oil for frying go for something neutral and high heat
For the Nutty Honey Glaze
- 1 cup honey the real stuff, none of that fake nonsense
- ½ cup chopped roasted nuts almonds, peanuts, hazelnuts—you choose!
- 1 tbsp unsalted butter because it makes everything better
- 1 tsp vanilla extract flavor on flavor
- A pinch of kosher salt to make those flavors pop
Optional Toppings
- Crushed nuts powdered sugar, or a drizzle of extra honey (for the ultimate finish)
- Instructions:–
Instructions
Step 1: Activate the Yeast, AKA Wake the Beast
- Combine the warm milk, yeast, and a tablespoon of sugar in a small bowl. Stir and let it sit for 5-10 minutes until it’s foamy and bubbly. If it’s not, start over—dead yeast equals dead donuts, and we can’t have that. This is the life force of your donuts, so treat it with respect.
Step 2: Bring the Dough Together Like a Love Story
- Combine the flour, remaining sugar, and salt in the bowl of your stand mixer. Give it a quick whisk. Add melted butter, eggs, and vanilla extract to the yeast mixture. Use the dough hook attachment; mix on low until everything becomes sticky. Bump up the speed to medium and knead for about 5-7 minutes until the dough is smooth and elastic. It should be tacky but not stick to the sides of the bowl. If you’re kneading by hand, get ready for an arm workout—but trust me, the results are worth it.
Step 3: Let the Dough Rise, Baby
- Transfer the dough to a lightly greased bowl, cover it with a damp towel, and let it rise in a warm spot for about 1 to 1 ½ hours or until it doubles. Patience, my friend. This is where the magic happens. The dough needs time to develop that beautiful, light texture. Use this time wisely—maybe send a sweet text to your honey, telling them what’s coming their way.
Step 4: Roll It Out Like You Mean It
- Once the dough has risen, punch it down (gently) and turn it out onto a floured surface. Using your rolling pin, roll it out to about ½ inch thick. This is where your donuts start to take shape. Use a 3-inch round cutter (or a glass) to cut out your donut shapes. Don’t forget to cut out those holes! Set the donuts and holes on a parchment-lined baking sheet, cover them with a towel, and let them rise again for about 30 minutes. They’ll puff up nicely and be ready to fry.
Step 5: Fry Time—Let’s Get Golden
- Heat about 2 inches of vegetable oil in a heavy-bottomed pot or Dutch oven over medium heat until it reaches 350°F (175°C). Use that candy thermometer to keep things in check—if the oil’s too hot, your donuts will burn on the outside and stay raw in the middle. If it’s too cool, they’ll absorb too much oil and be greasy. Fry the donuts in batches, about 1-2 minutes per side, until golden brown. Use a slotted spoon to remove them from the oil and transfer them to a wire rack to drain. Don’t crowd the pot, or you’ll have unevenly cooked donuts.
Step 6: Prepare the Nutty Honey Glaze
- While your donuts are cooling slightly, let’s talk glaze. In a small saucepan, mix the honey and butter over low heat. Stir in the chopped nuts, vanilla extract, and a pinch of kosher salt. Keep the heat low—this is a delicate process. You don’t want to burn the honey; warm it until it’s silky and smooth. Remove from heat and let it cool for a minute. The glaze should be thick but still pourable.
Step 7: Dip, Drizzle, Repeat
- Here’s where the magic happens. Dip each donut into the nutty honey glaze, letting the excess drip off before placing them back on the wire rack. Don’t forget those donut holes—they deserve some love, too. If you’re feeling extra fancy, sprinkle more crushed nuts while the glaze is still sticky. Give the donuts a few minutes to set before serving—if you can wait that long.
Notes
- Customize Your Nuts: Choose your favorite nut combo—almonds, hazelnuts, or pecans. You can even mix in seeds like sesame or chia for added texture.
- Storage Tip: These donuts are best enjoyed fresh, but if you must store them, keep them in an airtight container for up to 2 days. Reheat them in the oven for that freshly fried vibe.
- No Fryer? No Problem: If you don’t like frying, bake these bad boys at 350°F (175°C) for about 12-15 minutes. They won’t have the same golden crisp, but they taste amazing.
- Want a Twist?: Add a teaspoon of cinnamon or nutmeg to the dough for a spiced donut. Or switch up the glaze with maple syrup instead of honey. Go wild—it’s your donut kingdom.


